Monday, November 28, 2011

Happy Birthday Connor!


Happy first birthday, Connor!

One year ago today, I was sitting in a hospital bed holding my little snuggly son and marveling at how small and helpless he was. Today, he's a ball of energy - and 3 times the size! Despite all the bed rest and worrying, my boy came out just perfect (and on his own time.)

I'm so proud to be your Mama.

Saturday, November 26, 2011

Acorn Knot Hat

In case you missed my guest post over at Sugar Bee Crafts recently, here's what I shared!


When Mandy asked us to come up with something holiday or season-themed, I knew just wanted I wanted to do. When putting away my son's summer wardrobe, I realized that he didn't have any winter hats  - and he has a lot of noggin to keep warm - so I decided to make him one. I immediately thought about doing a knot hat because the knot on top looks kind of like the stem on an acorn. Add a leaf, and you have an acorn knot hat! And what's more adorable than a baby in an acorn knot hat? Exactly.
Here's what you need to make one too!


Supplies:
  • Knit fabric for the hat
  • Knit fabric for the cuff
  • Small scrap of felt for the leaf
  • Needle and embroidery floss
  • Fabric glue
  • Basic sewing supplies

Step 1: Create your pattern.

First, draw a basic knot hat pattern to fit your child's head (use a tape measure to help!) and add 1 inch on for seam allowance. Then, cut the bottom 2 inches off so you have two pattern pieces: the hat piece and the cuff.


Step 2: Cut out your pattern pieces.

Use your pattern to trace and cut out two hat pieces from your knit fabric.


For the cuff, fold your fabric in half and place your cuff template on the fold (I cut up an old onesie I had laying around to use for the cuff.) Trace and cut out your cuff piece. Repeat for a second cuff piece.


Each cuff should be 4 inches wide when they're open.


Step 3: Attach your hat and cuff pieces.

With one of your hat pieces facing right side up, fold one cuffs with the wrong sides together and pin the raw edge of your cuff to the raw edge of the hat (see below.) The folded part of the cuff should be facing up. Sew straight across the cuff using 1/4 inch seam allowance.


Flip the cuff down and press (as tempting as it may be, don't skip this step!).


Now, stitch straight across the top of the cuff to make sure it lays flat (I used a zig-zag stitch to make it more decorative.)


Step 4: Make your leaf.

Cut two leaves from some craft felt. Use a disappearing ink marker to draw the veins on one of the leaves.


Using a needle and some white floss, stitch across your drawn lines and knot your thread. Using some craft glue like Fabri-tac, glue the other leaf to the back of the one you just stitched and let dry.


Step 5: Finish your hat.

Place your two hat pieces right sides together and pin. Insert your felt leaf near the base of the knot and pin in place. Sew to join the two pieces. (You can finish the edges by zig-zagging or serging them, but since knit fabric doesn't fray, I didn't bother to.)


Turn your hat inside out and use a skewer to push out any corners. Tie a knot at the top to make your acorn stem, and there you have it!


I put the hat on my son to take some pictures and as it turns out...my son hates hats. Maybe I should change step one to read: First, make sure that your child likes to wear hats. Yes? OK, now move on to step 2.


Oh well, I still think it's super cute. I'll just have to convince him of that too.


Check out my sidebar to see where I link up each week!

Wednesday, November 23, 2011

Monster birthday party inspiration

My son's 1st birthday is on the 28th - eek where did the time go?? No matter how much I tell him to stay small, he doesn't listen.

Boys.

I'm planning on doing a monster-themed birthday aka, "The Little Monster is Turning One!" but I have no idea about the details. Monster party, that's all I got. Since it IS his first birthday and he'll never remember it, maybe I should have gone with a simpler theme, but I don't want Connor to look back at his first birthday and ask, "Why did you guys go all out for Haley's first birthday but you bought a few streamers and a balloon for mine?" Man, the kid isn't even one and he's already giving me hypothetical guilt trips.

As usual, Pinterest came to my rescue. If you haven't heard me talk about Pinterest before, it's basically a virtual resource for categorizing all the things you love. It's a lot of delicious eye candy, I could sit and pin things for hours. (If you want to join the addiction that is Pinterest, email me your address and I'll send you an invite. You can also follow me by clicking HERE or clicking on my Pinterest icon on my left sidebar.)

Here are some of the monster party ideas that inspire me on Pinterest:


Monster Eye Favors from It Is What It Is


Monster Cake by Makoodle


 Monster Bib by Crankypants

Monster Birthday Invite by Posh Little


Now if I could just get off Pinterest and actually PLAN the party...

Saturday, November 19, 2011

Guest posting on Sugar Bee Crafts

I'm over at Sugar Bee Crafts today taking part in Mandy's Guest Blogger Extravaganza! Today, I turned my son into an acorn with this little number:


The Acorn Knot Hat serves two purposes:

1. It keeps Connor's head warm.
2. More importantly, I think it'd be really funny to whip this picture out one day when Connor is 16 and getting ready to head out the door with his homecoming date. Revenge for those nights you kept me up, buddy!

So head on over to Sugar Bee Crafts and learn how to make an Acorn Knot Hat so you can embarrass your children when they're teenagers too.

And leave some love while you're at it ;)

Friday, November 18, 2011

Winner of the My Memories digital scrapbooking software giveaway!

Thanks to everyone who entered the giveaway of the My Memories digital scrapbooking software!

Just think of all the fun things you could make with your own digital scrapbooking software, and they even offer a bunch of free scrapbooking pages so you can play around with your new software.

Here are some of my favorites:


My Memories was sweet enough to offer one of my readers a copy of their digital scrapbooking software too! So I guess you want to know if you won...

So without further ado, the winner of the My Memories digital software is.......


Congrats Ashley! I'm sure you'll have just as much fun with your new digital scrapbooking software as I did. I sent the winner an email.

Thanks to everyone who entered (you're all winners to me!) Even if you don't win this time, My Memories is giving you all a coupon code that gives you $10 off the purchase of the My Memories Suite Scrapbook software and a $10 coupon for the MyMemories.com store - a $20 value! Just copy and paste the code below when you check out.

STMMMS15837

Wednesday, November 16, 2011

Drummer Shirt

Why is it that little girls are so much easier to make clothes for? There are so many cute little skirts, dresses, and ruffled tops out there for girls, but it seems like boys are limited to t-shirts and track pants. Boooooring!

My husband swears by his baseball tees. No matter how hard I try, I cannot get that man to wear a graphic tee. He doesn't like how the graphics look on it because he thinks they make him look "metro," and my guy is a guy who is all about "manly" things like super heroes, guns, and explosions.

Maybe I need to make him a shirt with an exploding super hero holding a gun. I mean, that's gotta be ultra-manly, right? Watch out world, I'm about to revolutionize fashion with my new line of men's clothing featuring exploding super heroes.

A friend of mine has a son who just turned 3 recently so while the idea of a shirt with an exploding super hero was appealing, I stuck to something more appropriate for a 3-year-old. This kid loves playing drums, so I decided to make him a fun shirt with something to do with drums. This is what I came up with: 


I got a Garanimals shirt from Wal-Mart, and used felt to cut out the letters and drum sticks. I love using felt on shirts so much because it's easy to cut and it doesn't fray. Plus, it gives a fun dimensional aspect to the shirt. After cutting the letters out, I just basted the felt onto the shirt with some basting spray (found that at Wal-Mart too) and sewed everything on with black thread.


If anyone is interested in a more detailed tutorial just let me know and I'll put something together. I think this shirt would be really cute with an electric guitar and maybe some lightning bolts or stars on it - because lightning bolts are also very manly. According to my husband, stars are NOT manly. Tell that to Captain America.


Check out my sidebar to see where I link up each week!

Monday, November 14, 2011

My Memories digital scrapbooking software giveaway!

***This giveaway is now closed***

When My Memories contacted me about doing a giveaway of their digital scrapbooking software, I hesitated because I've always been a TERRIBLE scrapbooker. I have one disgraceful album of magazine clippings and photos thrown together with Scotch Tape, so I didn't want to shame My Memories for life if I screwed things up. When I started reading more about the product itself though, I realized there was no way even I could mess this up.

The setup was super simple, I just clicked a few buttons and done. As for the the actual program itself....let's just say I don't like to read instructions...so I didn't. I jumped right in and began browsing all of the layouts, pages and embellishments. They have a great selection of embellishments like the ric-rac I used below, buttons, flowers, stitching, you name it. And to top it off, they even offer a ton of free downloadable packages on their website.

The hardest part was actually figuring out exactly what I wanted to do. The best part is that you can use the My Memories software for more than just scrapbook layouts. With Connor's 1st birthday coming up, I decided to make birthday invitations!


I used their background and embellishments, and then I decided to make a little monster on the bottom out of several of the shapes they offer. See? No design degree needed. And no Elmer's glue or magazine pages :)


So how bout some free stuff? My Memories has offered to give one of my fantastic readers a free copy of the My Memories Suite software (a $40 value) too!

Here's how to enter:

Mandatory: visit My Memories and check out all of their great selection of digital scrapbooking kits, then come back here and leave me a comment on this post telling me which one is your favorite.

Additional entries: go check out their blog or like them on Facebook and leave me separate comments telling me you did.


Please make sure I can contact you, either by leaving me your email address with your comment or by having your email address linked to your profile.


Even if you don't win, My Memories is giving you all a coupon code that gives you $10 off the purchase of the My Memories Suite Scrapbook software and a $10 coupon for the MyMemories.com store - a $20 value! Just copy and paste the code below when you check out. Merry (early) Christmas!

STMMMS15837

This giveaway is open until midnight on Thursday November 17th, and the winner will be announced here via Random.org on Friday the 18th. Good luck!

Friday, November 11, 2011

Fall Button Tree Shirt

In case you missed my guest post on Tatertots & Jello on the 2nd, here's what I shared! Also, make sure you check back next week...I have a giveaway for all of my awesome readers!

Today, I wanted to share a project with you inspired by my favorite season - fall! This fall button tree shirt is a really easy sew, perfect for beginners. You just have to have lots of patience to sit and hand sew all the button "leaves" on.


Here's what you need:
  • Download my free tree pattern HERE
  • A shirt
  •  Brown fabric for the tree
  • Sewable interfacing, like Heat 'N Bond Lite
  • Lots of buttons in fall colors
  • Basic sewing supplies

First, follow the directions on your interfacing to iron a piece of sewable interfacing larger than your tree image to the back of your fabric. Don't peel the paper backing off yet.


After your interfacing is ironed on, print and cut out my tree template, then trace it onto the paper backing of the interfacing.


Cut out your tree and remove the paper backing.


Using a hot iron, iron your tree onto your shirt following the interfacing instructions. Sew around the perimeter of your tree to secure (use stabilizer if needed, knits can be tricky sometimes.)


Now is where the patience part comes in! Dig into your button stash for some fall-colored buttons. Using a needle and thread, hand sew buttons around your tree until you're satisfied with how it looks. You might want to grab a snack and put on some of your DVR'd TV shows for the next hour or so while you're at it.


After lots of hand sewing, you should have a cute new fall shirt for your little one!


Now go find a big pile of leaves to jump in!


Check out my sidebar to see where I link up each week!

Wednesday, November 9, 2011

FroYo Shirts: Guest post with Come On, Ilene!

I found Come on, Ilene! just recently while blog stalking surfing and ever since, I've been hooked. She bakes, she sews, and she had the GREATEST bicycle-themed wedding that you have to check out. The tutorial that really caught my eye was for adorable FroYo shirts she made - I just love all the bead "sprinkles"! I'm so glad to have Ilene here sharing it with you today so you can make one too!

--------------------------------------------

Hi! I am ilene from Come on, ilene! Thanks for having me here, Jen! I am honored to be guest posting today. My blog is much like Jen's - full of tutorials, recipes and crafts. It's basically a collection of whatever is cooking up in this crazy little head of mine. Here are a few of my most popular posts (click to see full tutorials):


Today, I am sharing with you one of my favorite projects- how to sew frozen yogurt appliques!


We had some friends who were contemplating opening up a frozen yogurt business so I wanted to surprised their daughters with cute little froyo shirts! I'm totally loving this frozen yogurt fad, I could eat a large cup for breakfast! If only froyo stores were open that early. There is a place near our old house in Boston that had this awesome mojito-flavored froyo. Pile mochi on top and I am in heaven!

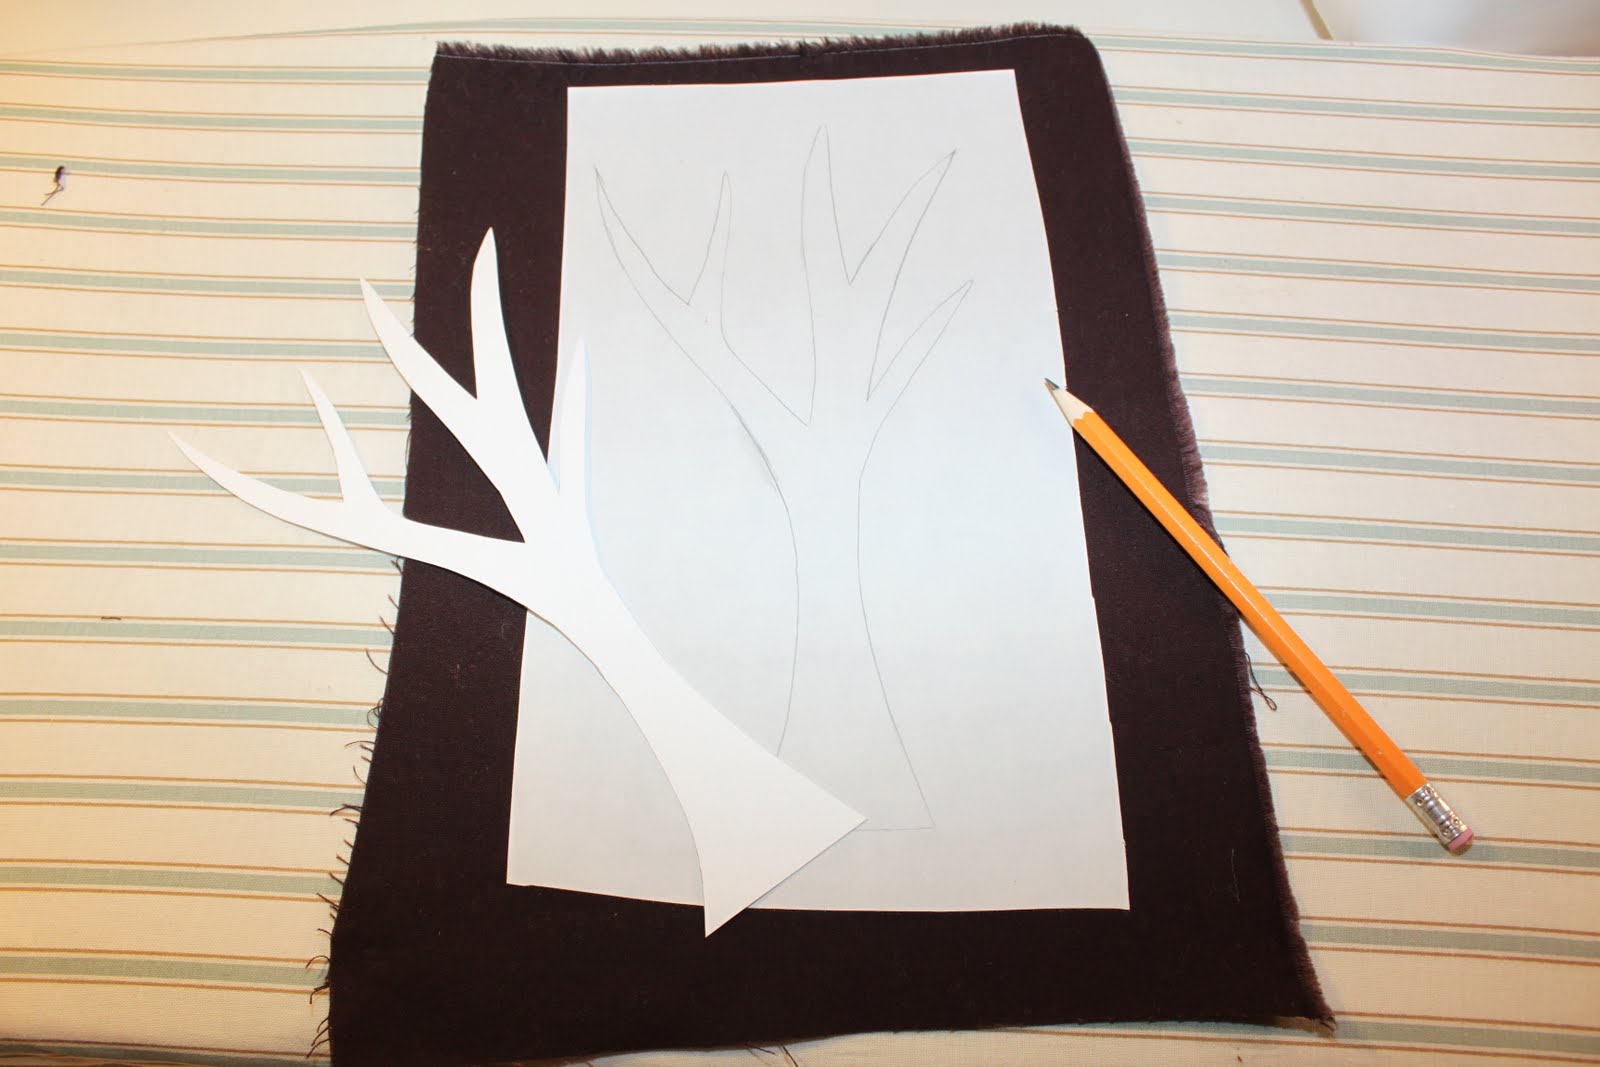
The froyo design was appliquéd onto plain T-shirts. This is a great project for using up scraps of fabric and mismatched "orphaned" buttons. I didn't have a pattern so I just drew one up with a sharpie. I tried hard not to make it look like a big cup of doo-dee:


Cut out the pattern pieces with scissors:


Then trace the pattern onto your fabric using disappearing ink:


To help the fabric pieces stick to the shirt, I like to back them with Heat N Bond iron on adhesive. You just iron on the paper-backed adhesive onto the back side of the fabric:


Then peel off the paper. Cut out the pieces and iron onto the shirt. The heat will activate the adhesive and bind the fabric to the shirt:


For the spoon, I cut out a silver piece of silhouette heat transfer material and ironed it on.

Now comes the tricky part, embroidering all around the design. This requires lots of patience and slow stitching. I used a zig-zag stitch all around:


Here is a great tutorial on how to appliqué. It definitely takes some practice!

Now comes the fun part! Adding buttons, swavorski crystals and beads as "toppings"! The girls love all things sparkly, so I wanted to add some bling!


And that's it! Two unique froyo shirts for two very special sisters!


Thanks for having me, Jen!! For more of my ideas, come visit me at Come on, ilene!

--------------------------------------------
How cute are these shirts? Frozen yogurt is all the rage in my town (I can think of 4 separate frozen yogurt places within 7 miles of each other), and I'm definitely a sucker for ice cream myself, so this project caught my eye right away.

Thanks for sharing, Ilene! Go check out Come on, Ilene! and see her other great projects, I'm sure her blog will become one of your new favorites too.

LinkWithin

Related Posts with Thumbnails